How to build your own bar, part 5
Bye-bye liver, the bar is finished
by Dave McAwesomeWhen the pieces were all assembled and I attached the doors to the hinges (with Chip's help), the thing really started to come together. It was at this moment that I realized the transformative (and transubstantiative) power of carpentry.
Ladies and gentleman, I'm practically Jesus.
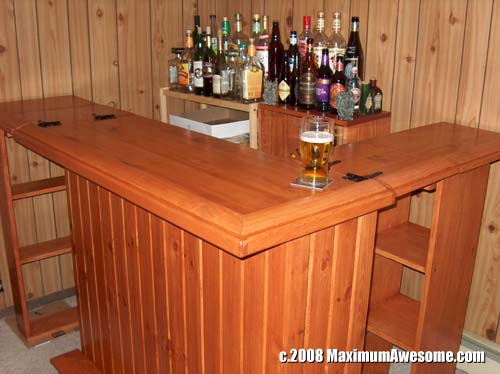
What other logical explanation is there? How else could one who hadn't picked up a 2x4 since 4th grade build a mighty bar? I'm particularly psyched about the backbar because I built small shelves to go on top of it...so you'll have a row of bottles in front and then a slightly higher row of bottles behind. Oh how drunk we'll be!
Boring stuff: I used 2" wood screws for assembly into predrilled holes (I used a cheapie Black and Decker drill from Target). For the molding, I used 3/4" wire brads (a type of nail) and wood glue. A hammer drill (for the screws) and hammer and tap (for the nails) pushed them below the surface of the wood. I put stainable wood filler over those and other spots. I sanded all wood with a progression of 100-, 150-, 220-grit sandpaper. I used one coat of wood conditioner, two coats of cherry stain and three coats of satin polyurethane finish.
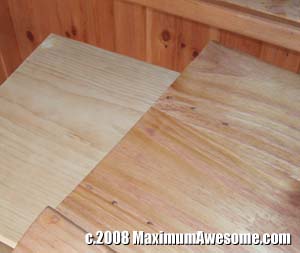
Were there problems? Yeah, one of the big planks of wood I bought had a slight warp in it, so the fit on one of the backbar pieces is less than perfect. One of the boxes extending the main bar has too small a base, so I need to go back and build it out a little longer.
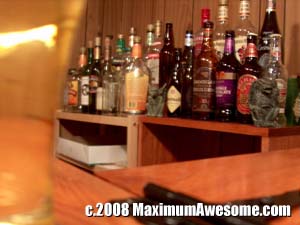
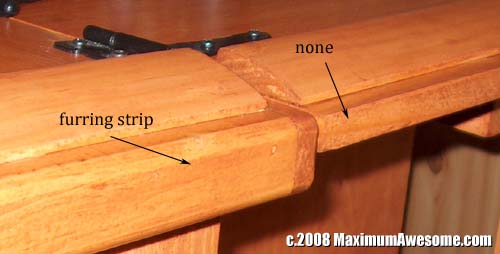
If I could do it again, I would have cut the bar top an inch shorter so I could nail on furring strips to match the ones on the pre-assembled piece. I would have researched and shopped around for a better wood filler. I also would have given more thought to black market organ sales in order to purchase the $200 bar railing.
Now if you'll excuse me, I have a liver to drown.
Read the whole story from the beginning.


